What Is Liquid Glass Used For?
Have you ever wondered how restaurants get those SUPER GLOSSY bar tops and countertops? These table tops and countertops almost look as if the wood was coated in liquid glass. This is exactly what Liquid Glass Epoxy Resin is used for. Often the epoxy resin comes in a two part, base resin and curing agent. When mixed together they form a liquid plastic-like formula which can be poured over furniture, bar tops, counter top, table tops and more. The curing process varies depending on brand, but generally the epoxy will cure within twenty-four hours, and fully cured through in up to seven days.
Popular Epoxy Resin Uses
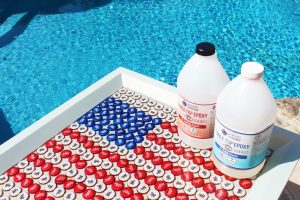
Bottle Cap Projects
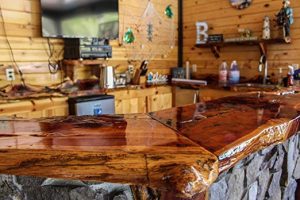
Bar Tops
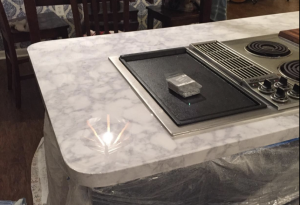
Countertops
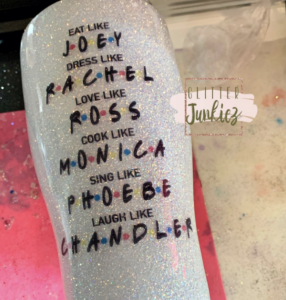
Glitter Epoxy Tumblers
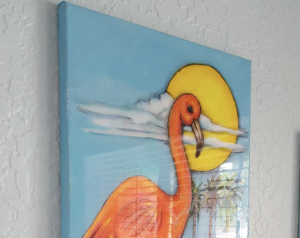
Art Resin
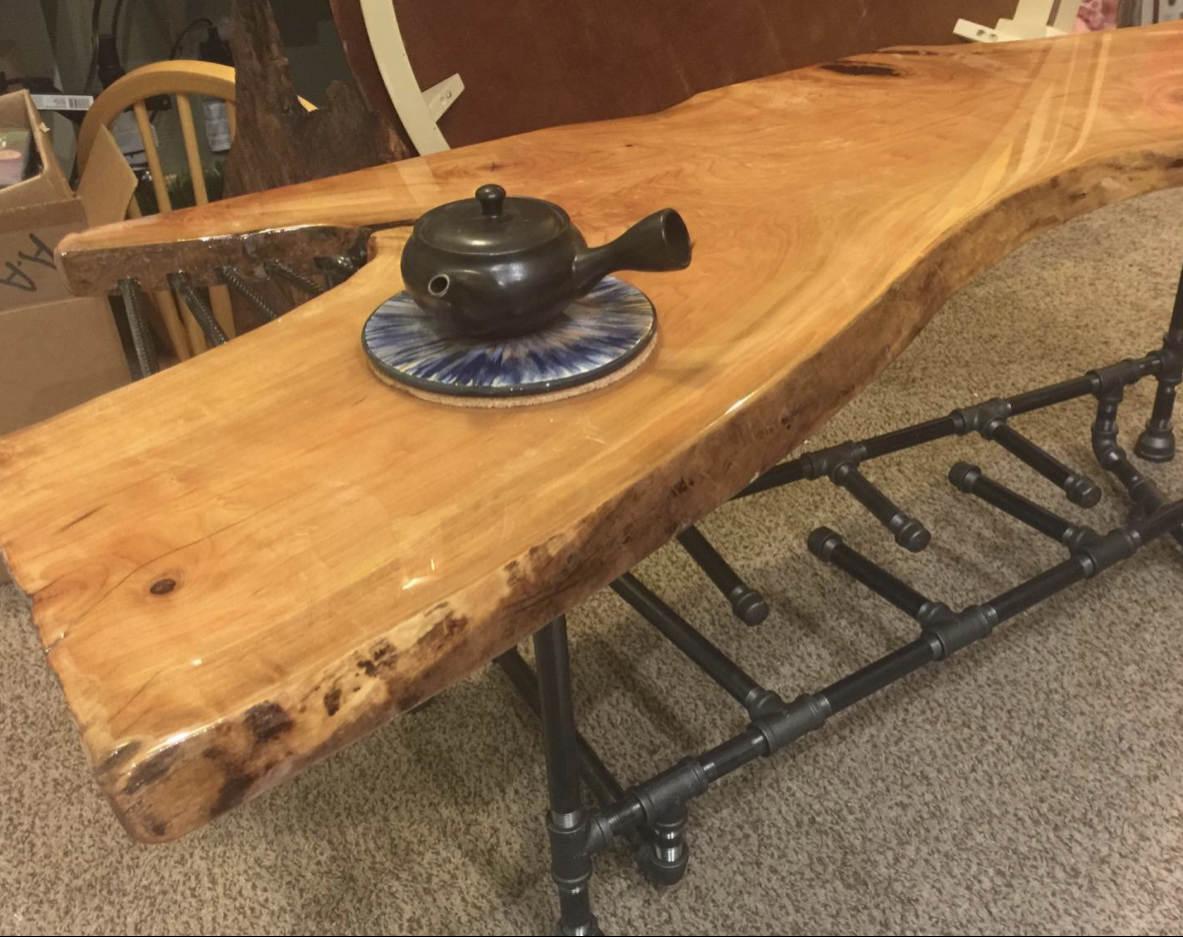
Coffee Table
Beer Bottle Cap Table Tops Projects
These are especially popular because epoxy leaves caps looking as it they are suspended in glass. Bottle cap projects are extremely popular for bar tops, corn hole boards, man caves, and more. However, there are a few pitfalls which can make working on these types of projects a headache.
It should come as no surprise that bottle caps can contain a lot of grit and grime. DIY'ers can buy these caps online, ask a local bar/restaurant, or simply save up overtime. To be safe, regardless of where the caps originated from (and even if the seller claims they have washed/cleaned) the caps should be throughly cleaned and dried. Caps containing grit, grime, and oils can cause swirls in the epoxy or a contaminated mixture.
Once the caps have been cleaned and dried they can be secured to the project. Caps should be secured to the project PRIOR to the flood coat of epoxy. If caps are not secured and epoxy is flooded over the caps, the air trapped under the cap will cause the cap to float and move. Caps can be secured with glue or a very thin layer of epoxy. If using epoxy, the epoxy should be poured first, allowed to "tack up" and then the caps can be pressed into the soft epoxy. Either of these will hold the caps in place for a flood coat.
Bar Top Epoxy Resin Projects
Bar tops come in all shapes, sizes and materials. Most popular is the wooden bar top, but painted and encapsulation projects are growing in popularity. Each type of wood has its' own level of porousness. Some woods are more porous than other. To be safe, it is always best to start by pouring a very thin seal coat. the initial coat should be just thick enough to coat the surface. This will allow the epoxy to fill in the pores of the wood and for air to easily release to the surface. This will help to eliminate bubbles later in the project.
If a thin seal coat is not applied and bubbles remain in the cured project, they can usually be sanded down. Because most epoxies self-level, the next coat should seal in the scuffs from the sanding. Larger bubbles can be drilled out and then filled in the next coat. Be sure to have a heat gun or torch handy on every pour to eliminate bubbles. Do not leave the heat source too close to the surface or in one area for too long as this can often result in MORE bubbles. This is a common problem resulting from the wood heating up (if the heat is left too close or in one area for too long) and ultimately releasing even more air.
Bar top projects are common in outdoor areas. However, most epoxies are not intended for outdoor use or direct UV exposure. UV exposure will yellow epoxies over time. Therefore, if the bar is in an outdoor setting, it should be shaded from UV exposure.
Countertop Resin Projects
Epoxy can be a great way to spruce up old countertops. However, this can be a very large task, especially for those that are not accustomed to working with epoxy. Those seeking to coat their kitchen countertops in epoxy should have adequate experience in working with epoxy. Vertical surfaces like backsplash can be especially difficult to properly coat. Self-leveling epoxy is susceptible to gravity (go figure) and will flow down the vertical surface.
Many do-it-yourselfers are also concerned with cured epoxy being food-safe or FDA approved. Although there are many epoxies that claim to be FDA compliant, the reality is that the end consumer is ultimately mixing and pouring the epoxy; and therefore each application would have to be assessed individually.
NOTE: Most coating epoxies are NOT high heat epoxies. Therefore, hot pots, pans, coffee mugs etc cannot be placed directly on the epoxy coated countertop. We recommend always using hot pads, coaster, etc.
How To Make Glitter Tumblers With Epoxy
As with countertops the number one concern with using epoxy on tumblers is whether or not it is Food Safe for the end user. Unfortunately, many epoxies advertise their material as food grade. However, each application must be assessed individually. Ultimately, the end user is mixing, pouring, and curing the epoxy which leaves room for error. Having said that, many epoxies can be FDA Approved, but will be dependent on manufacturer and directions properly executed.
Most coating epoxies are self-leveling which can present a problem for those wanting to coat tumblers. After applying the epoxy, the uncured epoxy will run down the cup and pool at the bottom. In order to compensate for gravity and the epoxy self leveling, tumbler artists use cup rotisserie turner. An epoxy cup turner allows the epoxy to distribute evenly as it cures.
Epoxy Resin Art
Resin art takes on many shapes and forms. Some artist simply use epoxy to coat a piece of art and others actually use the epoxy to create their art. For those that coat their art projects in epoxy need to pay close attention to the material that they will be pouring over. Epoxy cannot be poured on paper. Paper will absorb epoxy and essentially ruin the paper/art. Additionally, canvas presents a different set of challenges depending on how the canvas is mounted. Cured epoxy can be heavy which could cause a canvas to sag. Each artist should test their materials to discover how epoxy will react to the individual works of art.
Rapidly gaining in popularity is colored resin art. This type of art utilizes multiple colors, glitters, shades etc of epoxy. Often epoxy is tinted with dyes, mica pigment powers or dispersion pigments. The creations are endless with this type of art. As with countertop epoxy projects, this takes time and a keen eye to master.
Epoxy Resin Coffee Table
Coffee tables and end tables are ideal epoxy resin projects. Once dull and boring pieces of furniture can shine again. These type of projects are especially popular for those that "shabby chic" or scout yard sales for unwanted and discarded furniture. The options to customize a coffee table or end table are endless (pun intended). One of the most popular projects is the river table. This can be accomplished with a new piece of wood or by filling voids, dents, and scratches with colored epoxy.
Because coffee tables and end tables are often found in the living room where most would entertain, these are perfect projects for "talking pieces." For those looking for a more personalized piece of furniture, epoxy can be used to encapsulate pictures, keepsakes, and other small items. As with bottle caps, when encapsulating objects into epoxy, whatever is being encapsulated must be properly prepped. Even the smallest of pieces can hold/trap air which may release into the epoxy.
How To Use & Mix Epoxy Resins
Each resin kit is slightly different. The first and most important factor to consider is mixing ratios. Most coating epoxies utilize a 1:1 by volume mixture. This is an easy ratio to measure, especially when using graduated mixing containers. Casting resins are often much thinner than coating resins and are often 2:1 by volume.
Mixing Ratio Differences
The mixing ratio is exactly what it sounds like... how much of each part to use. Epoxies often come in a base resin, which is usually a thicker viscosity and a curing agent. The two must be measured accurately, in accordance with specified directions, in order to properly react and bond. Improper mixing ratios is one of the most common problems that users encounter. An incorrect mixing ration will almost certainly result in curing problems. If too much curing agent/activator is used, the cured epoxy will feel soft and rubbery. If too much resin is used the epoxy will not cure properly.
Casting Resin Vs Epoxy Resin
Coating epoxies are often thicker in viscosity which will cure faster than casting resins. Coating epoxies require thin pours, often 1/16"-1/4' per application. If pouring thicker then recommended fill depths, an accelerated reaction can occur which may yellow, crack or fish eye the cured product. Casting epoxies are thinner (compared to coating resins) and often take much longer to cure. Coating epoxies often are hard to the touch within 12-24 hours whereas, casting resins take much longer at 24-36 hours to cure. However, both may require much longer for FULL CURES. For example, some coating epoxies may require a full week to cure completely. Because casting resins are thinner and react slower, they can often be poured thicker. Some resins will allow pours up to 2" thick. This make casting resins perfect for casting figurines, floral arrangements, jewelry and filling large voids in wood, such as river tables.
NOTE: Leaving large amounts (over recommend maximum pour depth) in a mixing contain can result in an accelerated reaction. This can cause the epoxy to heat up, yellow, crack, etc.
Prepping Your Project
An unprepared surface, mold, or project can almost certainly result in curing issues. Epoxy should be mixed, poured and cured in a clean, dry, dust-free environment. Understanding the surface and how epoxy will react to that surface is critical to a successful project. It is very important to test a small sample are or sample scrap piece of the larger project PRIOR to pouring the project. Testing a sample area/piece will allow users to understand how the epoxy will react with individual projects. Furthermore, different grains, cuts, porous areas can react differently even if they are part of a larger project/piece of wood.
Oil Based Stains
Most epoxies do not recommend pouring over oil-based stains. Oil based stains can take a very long time to fully cure. If the oil-based stain is not 100% cured, the epoxy could fish eye. If painting or staining a surface which will be coated in epoxy, use a water based paint or stain. Already have a project in mind that is coated in an oil-based stain? Oil-based stains can be coated in a water based clear coat, allowed to cure, and then the epoxy can be applied.
Sanding Between Applications
Because coating epoxies require thin pours, many users desire to apply multiple layers to build up a project. An additional layer usually can be applied when the prior coat is tacky to the touch. Often this can be 4-8 hours, depending on temperature. If waiting more than 24 hours between coats, it is often recommended to sand the cured epoxy prior to pouring an additional coat. 320 grit sandpaper works well to scuff the surface in preparation for an additional coat.
Do NOT Use Water
Sanding between coats or prepping a surface can leave behind a lot of dust and particles. Some users may be inclined to grab a wet rag and wipe down the surface. However, epoxy and water do not mix. The smallest amount of moisture can cause the epoxy to become contaminated. In order to clean a surface many manufacturers recommend isopropyl alcohol 99% or denatured alcohol.


